
For a few years I tried selling products at a little craft fair, and while I sold a few items, the Lotion Bars did not really sell. Part of the issue was packaging. I would wrap them up in clear plastic craft bags with a label, and that didn't work that well. I tried tins, and they did a little better, but still I barely sold any. (I still haven't found a great way to package these.) One year I took some of the scraps and put them out on a tray as samples, I spent half the time stopping people from eating them, and explaining what they were. People just didn't seem to get the concept. However, in my years of making these I have introduced and successfully converted a few friends and family members over to the Lotion Bar side. Some are still confused.... but maybe someday they will learn!
For those not familiar, Lotion/Massage Bars are supposed to melt at skin temperature. You do not add water, you just rub them onto your bare skin and let them work their magic. It's like body lotion and massage oil combined into a solid form. Since they melt on your skin they absorb nicely, and they are great for softening and moisturizing with less mess. They also smell amazing! I can understand why people wanted to eat them!
The formula for making these bars is fairly simple, and it's all about melting points:
1/3 Hard (Beeswax, Soy)
1/3 Medium (Cocoa Butter, Shea Butter )
1/3 Soft (Apricot, Olive Oil, Sunflower, Avocado, Coconut, etc...)
Here is my recipe for a small batch (about two bars):
Veronica the Lazy Diva's Cocoa Butter and Coconut Oil Lotion Bars

Ingredients:
2 oz Beeswax
2 oz Cocoa Butter
1 oz Coconut Oil
1 oz Apricot Oil
3 drops Vitamin E
Essential Oils (optional) (I used 3 drops of Jasmine and 2 drops of Orange)
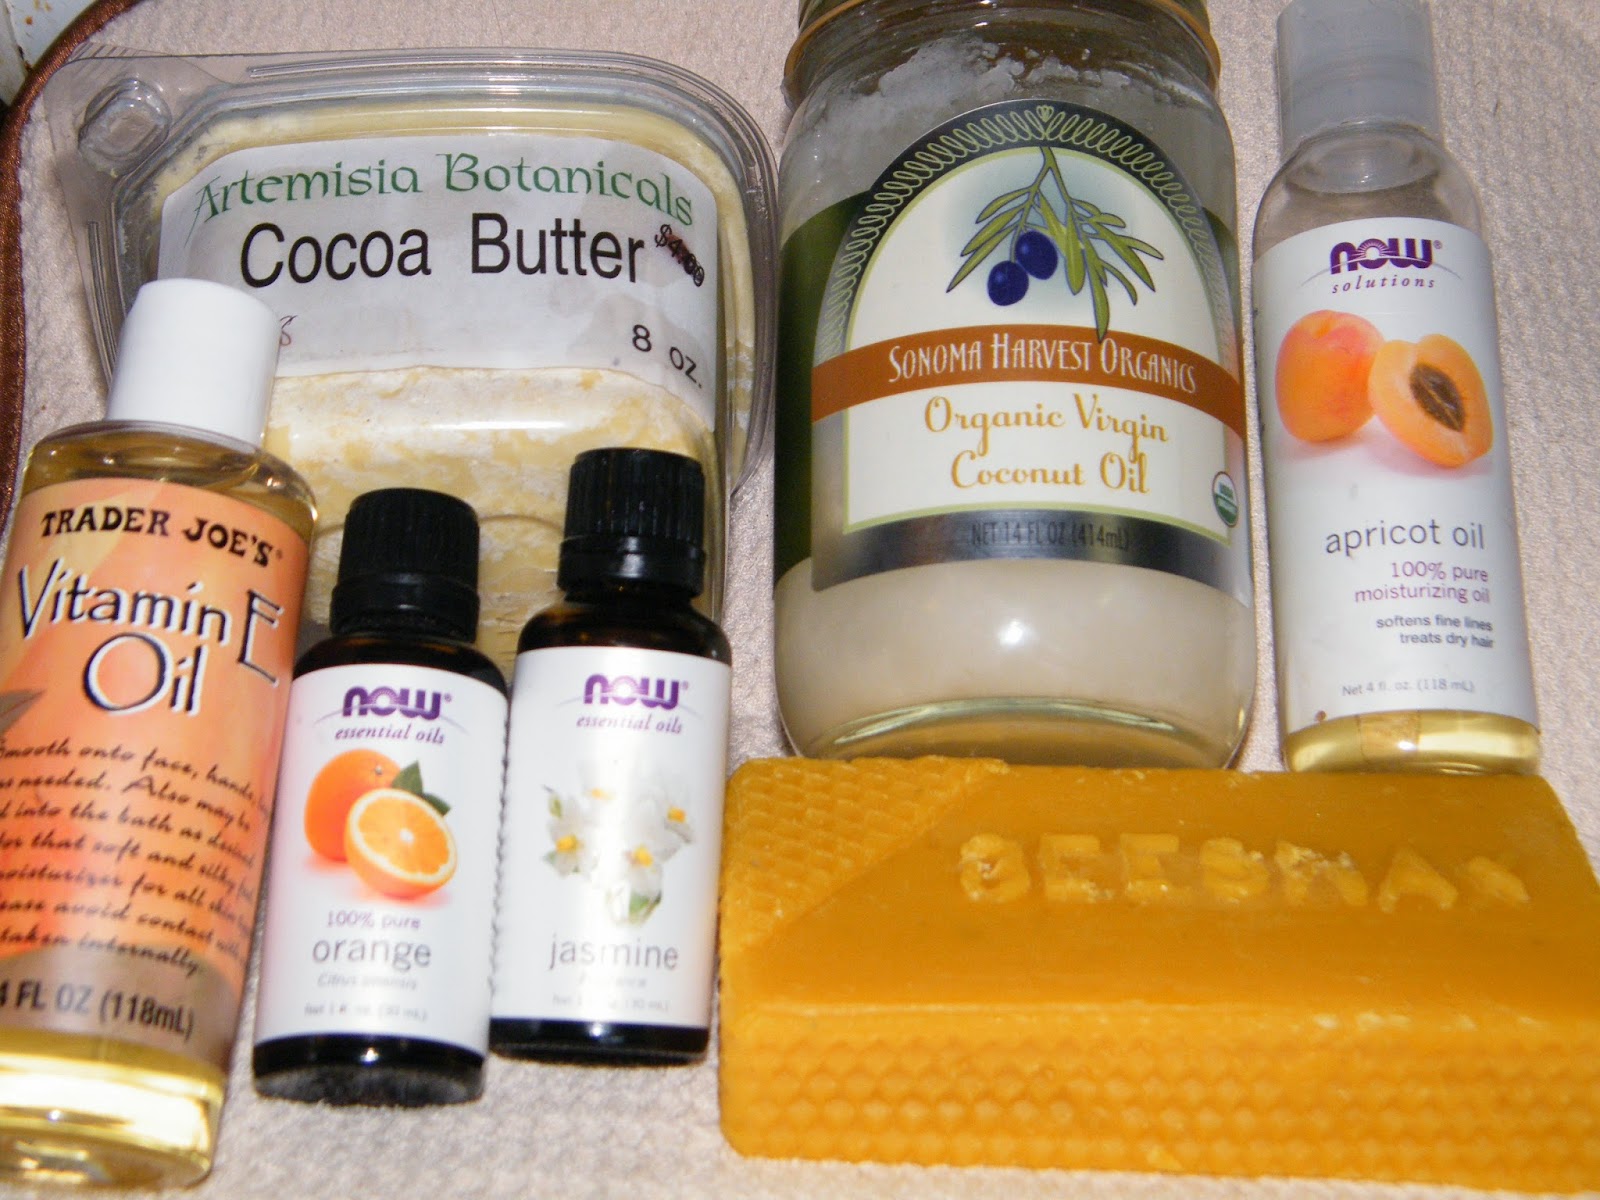
I have 'craft' designated crock pots and that's what I personally use when I make these. You can do these in a double boiler, or even in the microwave one at a time starting with the hardest items and working down.
STEP ONE:
 |
| I came across a bag of smaller pieces, so I used this instead of cutting the block. |
ADD THE BEESWAX AND LET IT MELT COMPLETELY
STEP TWO:

STEP THREE:

ADD COCONUT OIL AND STIR
STEP FOUR:

ADD APRICOT OIL AND STIR
STEP FIVE:


ADD VITAMIN E AND ESSENTIAL OILS (if desired) AND STIR
These three ingredients are optional, half the time I leave the essential oils out. The Cocoa Butter and Coconut Oil have such an enticing natural smell you don't really need to add scent, I just added a few drops to bring them up to the next level. The Vitamin E is also a go to ingredient in most of my projects, it ups the moisturizing and is a natural preservative.
STEP SIX:
 |
| I did this batch just for me, so I just used a couple of random molds. The silicon one is actually a muffin mold I got in the bargain section of a department store. |
POUR INTO MOLDS AND WAIT UNTIL COOL
 |
| These set fairly quickly, but you can stick them in the freezer to speed up the process. |
STEP SEVEN:
 |
| The beeswax leaves particles that settle to the bottom, but I think it adds to the design. |
ENJOY!
So, those are my lotion bars! I hope I have enlightened you and inspired you to give them a try! There is a bit of trial and error as you experiment, but the nice thing about them is you can always remelt them and add more oil or beeswax if you need to. They're also fairly quick and easy to make. Once the beeswax melts everything else goes quickly. They make nice gifts as well, but you may need to explain or include a note about how to use them.
NOTES:
I have not done much experimenting with Soy, but I believe it has a slightly lower melting temperature, so if you try to make these without Beeswax, you may need to adjust the hard/soft ratio ever so slightly.
You can also make this more of a salve and pour directly into tins. I would just add about 1/2 or 1 more oz of oil to the mix to soften it up.


