Sunday, September 7, 2014

Here we go again.... Pickles Galore! Recipe for Bread and Butter Pickles with Curry (Instead of straight Turmeric)


Cucumbers!  Boy, did we get cucumbers!  We planted a six pack of cucumber pickles and those babies produced, so we canned at least 20 jars of pickles this season, and we may do a few more with the garden remnants.  We used the original Garlic Dill Pickle recipe I posted last year, did some variations on that, and we also pulled out the Bread & Butter Pickle recipes as well.  So, 2014 was a pretty good canning year.


One of the big issues when we were starting to look through recipes is that many recipes called for turmeric.... well, we don't have turmeric, I forgot to look for it, and later when I did, I didn't find it.  It also did not help that we kept forgetting the name 'turmeric' and ended up buying (and borrowing) tarragon, which we did not use. Seriously, we went to the super market the other day and hubby picked up tarragon and tried to buy it again...I told him to stop looking for the elusive turmeric, we'll find it when we need it least! Anywhooo... I looked online and found some supposed 'substitutes' and right at the very top of the list was Mr. Lazy Diva's favorite seasoning, CURRY.  That was all he needed to hear, and so instead of turmeric, we used curry and a pinch of ginger.  I honestly didn't notice that big of a difference, they tasted great!  I was told they taste just like store bought, so I guess that's a compliment...lol!  So in the future I'll probably stick with the substitution, I've lived this long without straight turmeric, I can probably go at least another 35 years, right? 

NOTE: I wrote this post a couple of weeks after we canned because I didn't want to share an untested recipe.  I have a horrible memory, and after I posted the blog, a friend pointed something out that I forgot to explain.  WHY is Curry a good substitute for Turmeric?  BECAUSE TURMERIC IS IN CURRY!  SMH!  That's why I used it!!  lol!!  So when I say a recipe without turmeric, I don't mean I didn't use any, I just mean I didn't go to the store and buy a bottle.  I used a Mild British Curry from my husbands collection that contained the spice.  Thank you, Emma for reminding me about that!!   


Well, without further ado, here's one of our newer recipes:


The Lazy Diva's Bread and Butter Pickles with Curry


INGREDIENTS:
5-10 (or so) Cucumbers
1 Bell Pepper
1 White Onion
3 Garlic Cloves

2 1/2 cups of White Vinegar
2 1/2 cups of Apple Cider Vinegar
4 1/2 cups of Sugar
3 tbsp canning salt
2 tbsp Mustard Seed
1 tsp Celery seed
1 tsp Curry powder
pinch of Ginger


PHASE ONE: SLICING AND ICE BATH


 Slice Cucumbers about a 1/4" thick
Slice Bell Pepper into thin sticks
Slice Onions into thin sticks
Slice Garlic into Thin little sticks


In a large bowl add a layer of ice, put a layer of cucumbers, peppers, onions and garlic on top, sprinkle with canning salt, and repeat, layering until you get to the top of the bowl. 


Place a bowl over top, weight it down, and let it sit for 2-3 hours until most of the ice is melted.  Drain and rinse before filling the jars.


PHASE TWO: PREPARING THE BRINE


When Phase One is complete (or nearly complete) you can star the brine. In a pot add the vinegars, sugar and all the other ingredients and bring to a boil.


PHASE THREE: ADDING IT ALL TO THE JARS


Put the rinsed pickles, peppers, onions, and garlic into clean sterilized jars.  This batch we filled 5 wide mouth pint jars, if I used a bigger bowl and sliced more veggies, we may have been able to do about 7. 


At the last minute I did add a dash of pickle crisp to the jars just to try to keep them a bit crunchier.


Fill the jars up, try to pack them full, then pour in the hot brine mixture.  You'll want to leave about a 1/4 inch of space at the top.


PHASE FOUR: CANNING


Using the Water Canning method, boil for 10 minutes, and voila! you're done.


Let them sit, and cool,and make sure the jars sealed. (If any didn't, just put them in the fridge and use them up within a couple of months.) For the best taste wait at least a week before opening and enjoying.


Well, it's taken me a while to post this, but obviously I finally got around to it, hopefully it will help those as turmeric challenged as us, make some yummy bread and butter pickles.  I erred on the side of caution with the use of the curry, but if you're a fan like my husband, feel free to add a pinch or two more.  I'm not  a huge fan of the seasoning myself, so I was a bit glad it didn't overpower or really stand out. 

For my next blog I'm going to try and not use the word TURMERIC 20 times....


Thank you as always for reading, and happy canning!

Saturday, July 12, 2014

When your husband hands you a bowl of Blackberries and Raspberries.... Add Some Sugar and Make Jam


When we bought our house several years ago, one of the added perks was finding out we had lots of wild blackberries and raspberries growing all over.  We've had to cut them back a bit, and some of them were choked out, but this year we had a pretty good yield.  Other than picking them, and maybe adding some whipped cream,  we've really never done much with them.   So I was kind of surprised when my husband called me at work and said he had picked a bowl of berries and was wondering if I'd like to make jam as my next blog project, or if I wanted him to go ahead and make it himself.  Obviously, I chose to blog it!  I've never made jam before, but I figured now was as good a time as any to learn.... besides, all the hard work was done!  (Thank you to my hubby for spending all the time picking the berries and then waiting for me to make the jam!  After the 'You made all the apple sauce without me! I was going to blog that!' incident of 2013, he's learning!)

Now that I had a bowl of berries, I needed a recipe!  At the time I started this I completely forgot I had gone on a pectin buying spree last fall, so I searched for recipes that did not need it.  Every recipe was pretty much the same, and for my first time out, I figured I'd go with the most easy and basic. I had no idea how much sugar was in jam!!  Since we didn't have a huge yield... I decided to do refrigerator jam and leave the canner in the basement.  I also decided to leave the strange grinder/seperator mechanism in the cabinet, and just leave the seeds in, why make more work.

So here is the super easy recipe:


The Lazy Diva's No Pectin Raspberry and Blackberry Jam


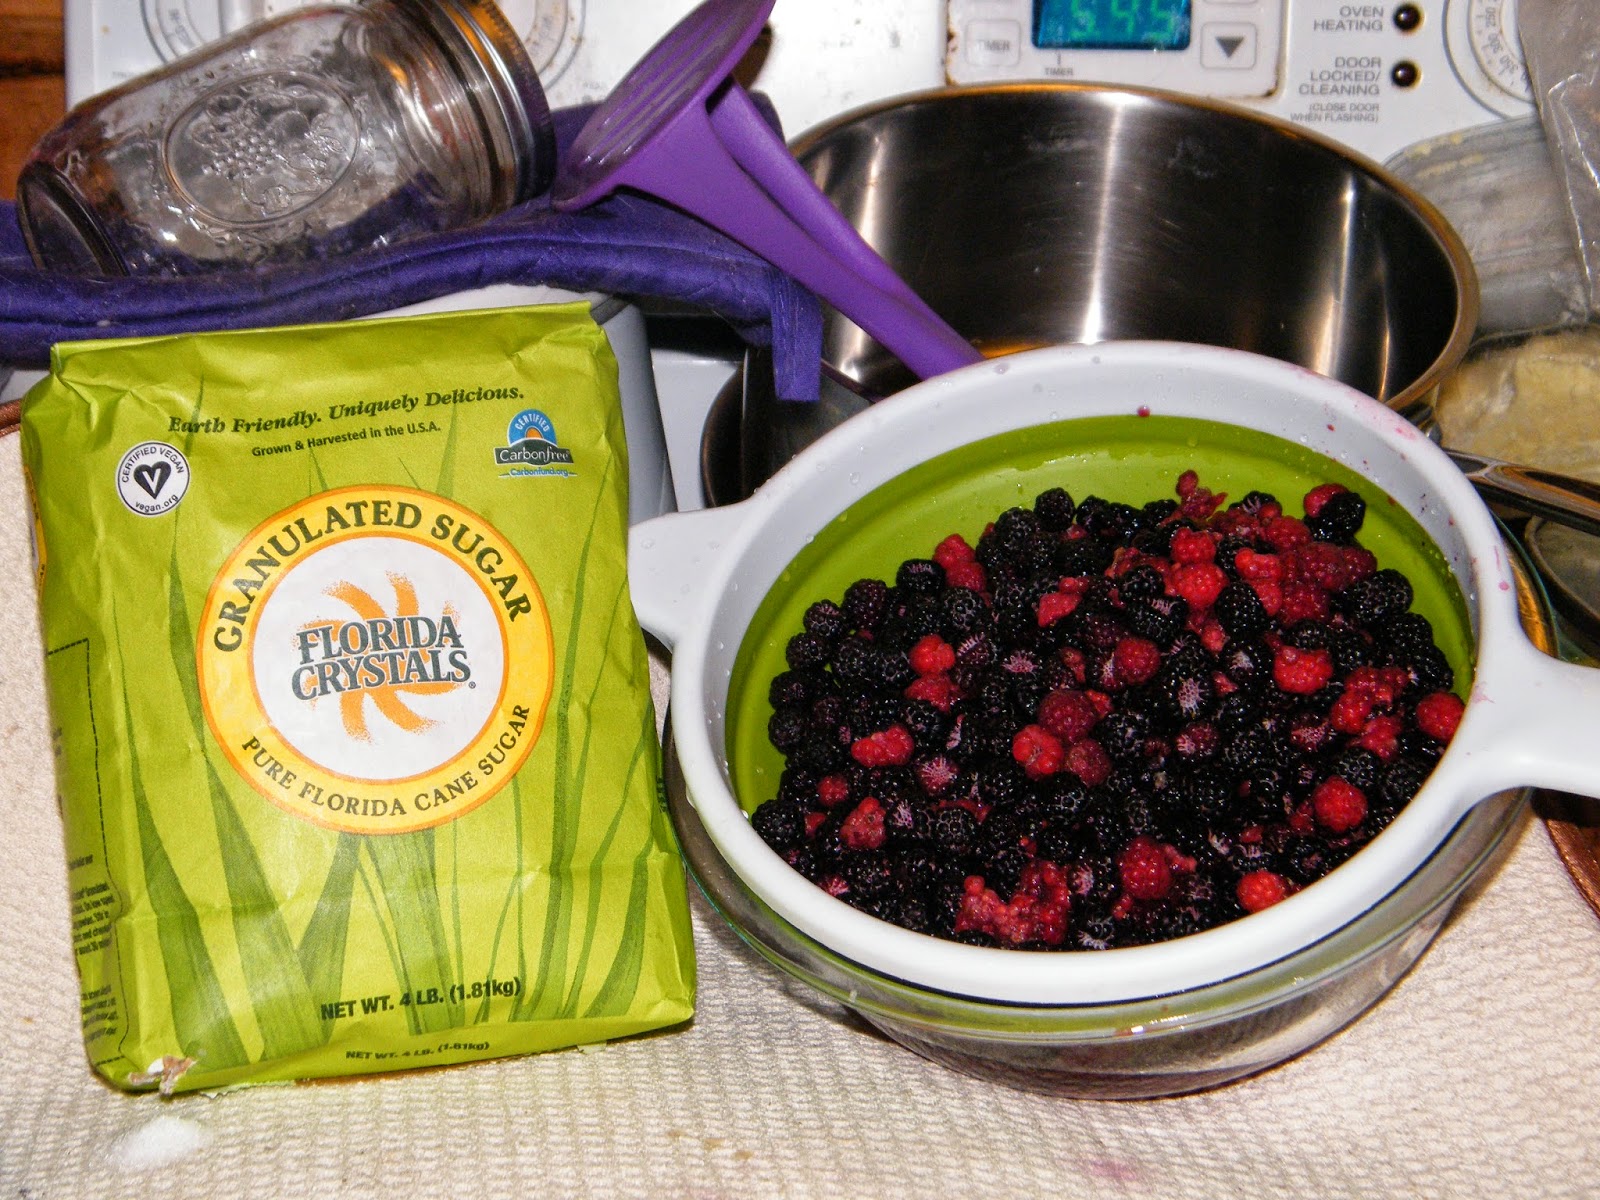
4 cups of berries 
(we didn't have a ton of raspberries, so we just mixed them in with the blackberries)
4 cups of sugar
A splash of lemon juice (Some recipes called for it, some didn't. The ones that did would say a tsp. for each cup of berries.  I didn't think it was necessary, but I added a splash in anyway.)

Heat on High for 5-10 minutes, then reduce heat to medium and cook an additional 10 minutes.

STEP ONE:


RINSE BERRIES WELL


STEP TWO:


ADD BERRIES AND SUGAR TO A POT AND HEAT ON HIGH FOR 5- 10 MINUTES.


MASH AND STIR AS YOU COOK

STEP THREE:


REDUCE HEAT TO MEDIUM AND COOK FOR AN ADDITIONAL 10 MINUTES. IF THERE IS A LOT OF FOAM, SKIM THE TOP.


STEP FOUR:

I used half pint jelly jars, and with about 6 plus cups of fruit, I ended up with about 3 1/3 full.

POUR INTO JARS, LET COOL AND THEN REFRIGERATE.


STEP FIVE:


ENJOY


NOTES:  

~ Do not walk away from the pot because this bubbles right up to the top if not stirred.
~  It's molten hot, so don't try to sample with your finger, or try to move the jelly jars without a pot holder for quite a while.
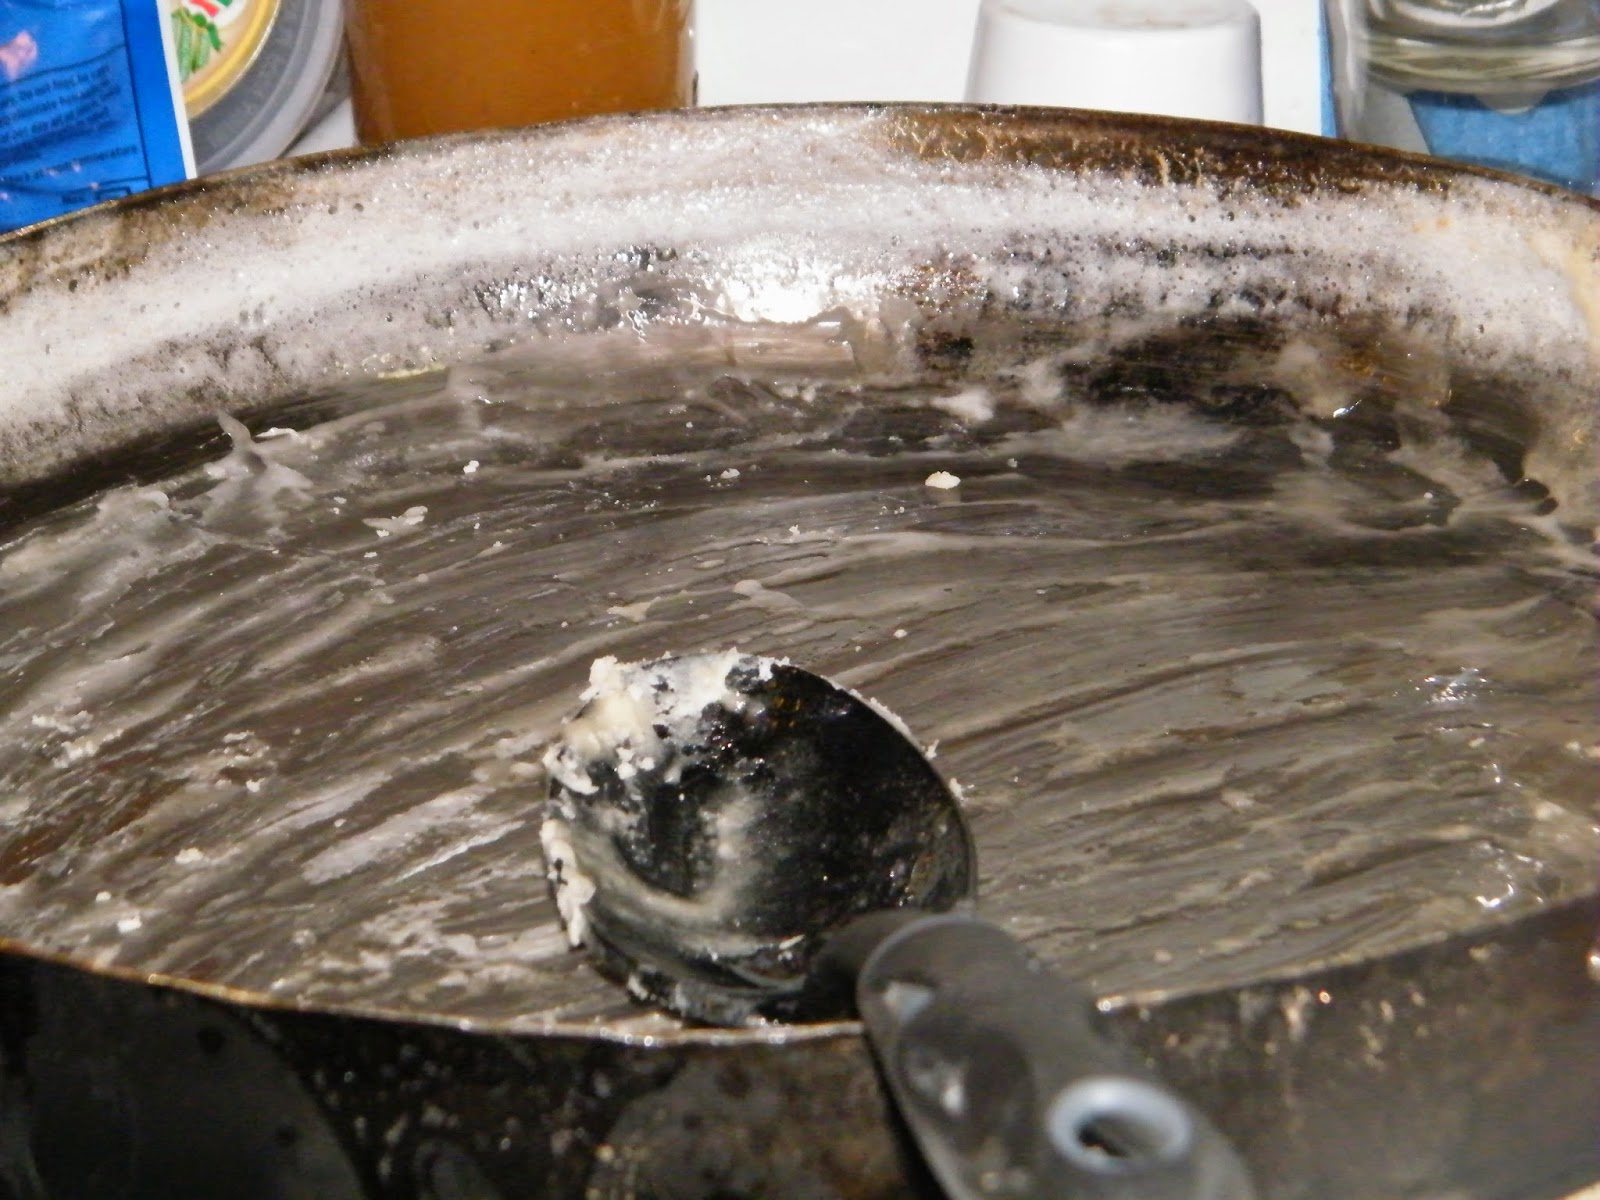
~ This leaves a layer of jam on all the dishes, and it looks horrific. If you just soak it for a little bit it comes right off.


Had I known that jams and jelly were this easy, I probably would have tried them much sooner!  Next time I will probably can them to keep them for an extended time.  This time we gave some away and kept the partial and a full jar for ourselves. With 3 full jars that would be enjoyed sooner rather than later I couldn't see dragging out the canner. 

Bottom line, first attempt at Jam was a delicious success!  Once again, a huge thank you to my husband for picking the berries and also for supporting my blog and creativity!

Thanks to you as well for visiting the blog!

Thursday, July 10, 2014

A Solid Way to Moisturize and Massage Your Skin using LOTION BARS

Years ago I found a recipe for Massage Lotion Bars.  Out of everything I have made these were, and still are, one of my absolute favorite items.  Knowing and loving these bars as I do, I've often marveled at how big of a mystery they seem to be to other people.  

For a few years I tried selling products at a little craft fair, and while I sold a few items, the Lotion Bars did not really sell.  Part of the issue was packaging.  I would wrap them up in clear plastic craft bags with a label, and that didn't work that well.  I tried tins, and they did a little better, but still I barely sold any. (I still haven't found a great way to package these.) One year I took some of the scraps and put them out on a tray as samples, I spent half the time stopping people from eating them, and explaining what they were. People just didn't seem to get the concept.  However, in my years of making these I have introduced and successfully converted a few friends and family members over to the Lotion Bar side.  Some are still confused.... but maybe someday they will learn!

For those not familiar, Lotion/Massage Bars are supposed to melt at skin temperature.  You do not add water, you just rub them onto your bare skin and let them work their magic. It's like body lotion and massage oil combined into a solid form. Since they melt on your skin they absorb nicely, and they are great for softening and moisturizing with less mess. They also smell amazing! I can understand why people wanted to eat them!
The formula for making these bars is fairly simple, and it's all about melting points:

1/3 Hard (Beeswax, Soy)
1/3 Medium (Cocoa Butter, Shea Butter )
1/3 Soft (Apricot, Olive Oil, Sunflower, Avocado, Coconut, etc...)

Here is my recipe for a small batch (about two bars):


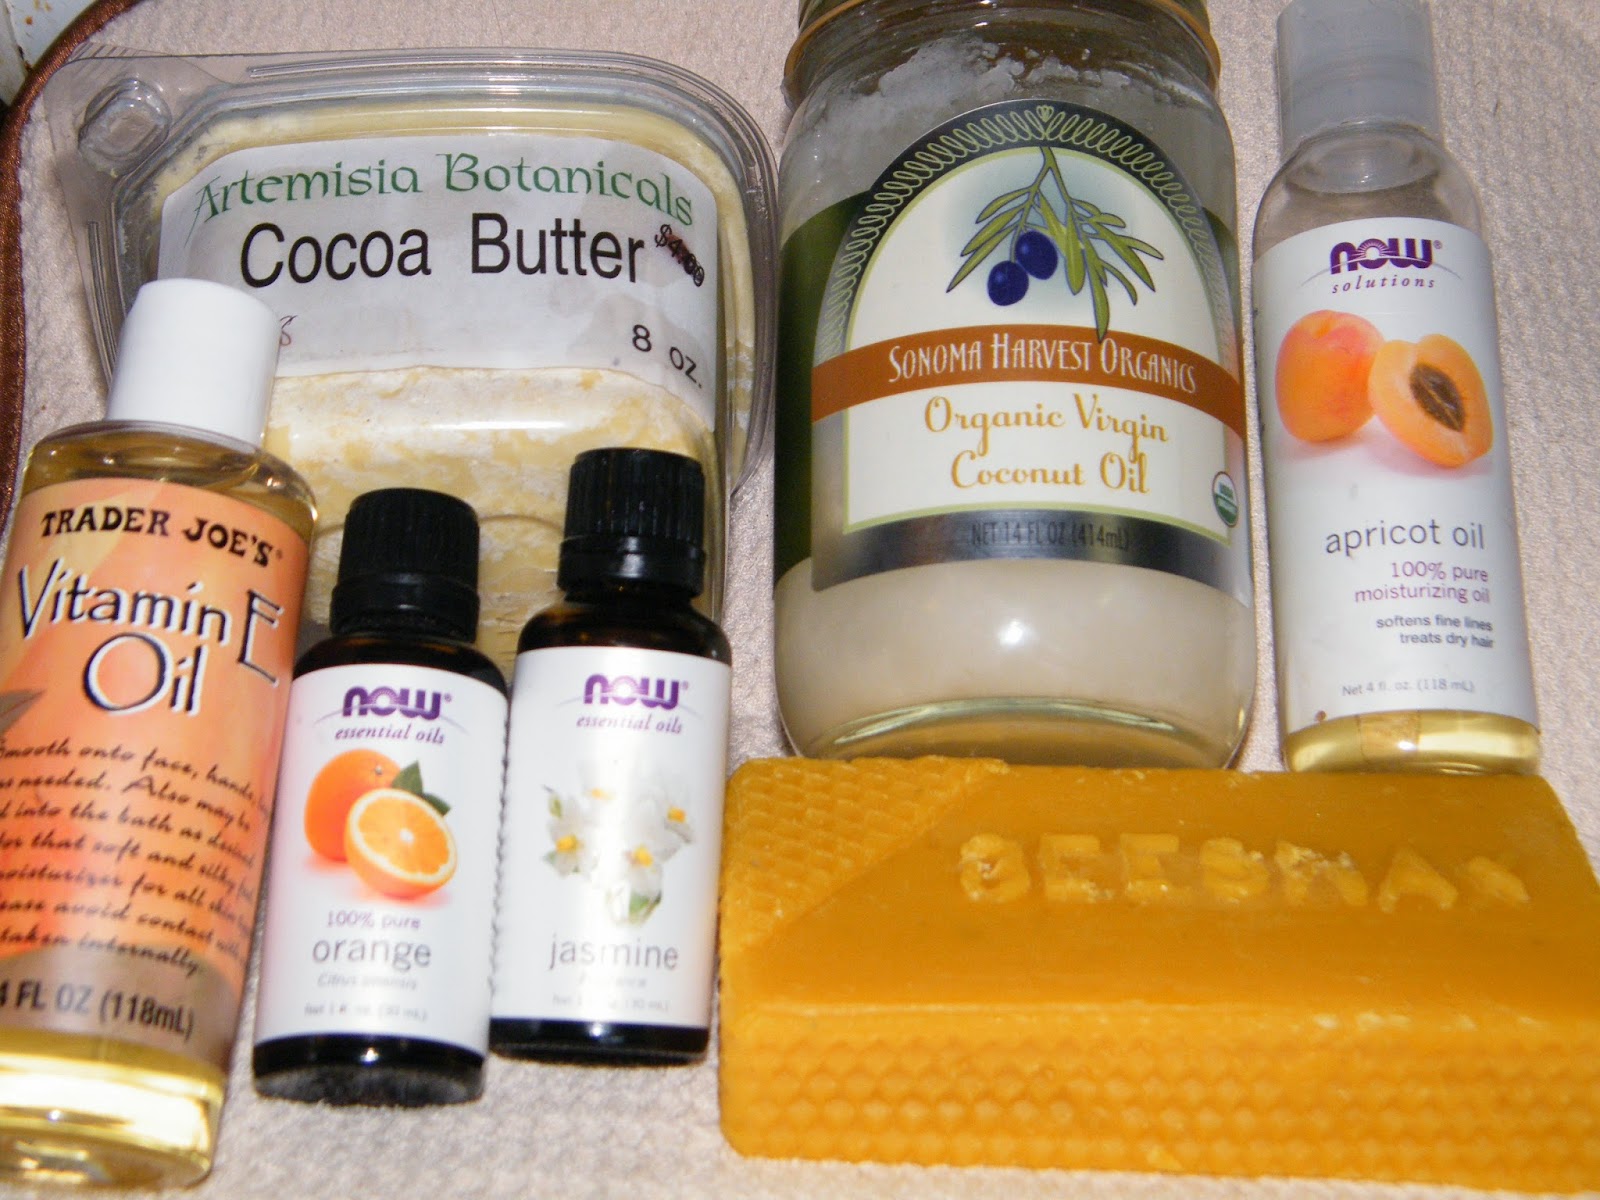
Veronica the Lazy Diva's Cocoa Butter and Coconut Oil Lotion Bars


Ingredients:
2 oz Beeswax
2 oz Cocoa Butter
1 oz Coconut Oil
1 oz Apricot Oil
3 drops Vitamin E
Essential Oils (optional)  (I used 3 drops of Jasmine and 2 drops of Orange)

You'll also need some sort of mold to pour these into when finished.

I have 'craft' designated crock pots and that's what I personally use when I make these.  You can do these in a double boiler, or even in the microwave one at a time starting with the hardest items and working down. 


STEP ONE:

I came across a bag of smaller pieces, so I used this instead of cutting the block.

ADD THE BEESWAX AND LET IT MELT COMPLETELY


STEP TWO:


ADD COCOA BUTTER AND STIR UNTIL IT IS MELTED COMPLETELY


STEP THREE:


ADD COCONUT OIL AND STIR


 STEP FOUR:


ADD APRICOT OIL AND STIR


STEP FIVE:


ADD VITAMIN E AND ESSENTIAL OILS (if desired) AND STIR

These three ingredients are optional, half the time I leave the essential oils out.  The Cocoa Butter and Coconut Oil have such an enticing natural smell you don't really need to add scent,  I just added a few drops to bring them up to the next level.  The Vitamin E is also a go to ingredient in most of my projects, it ups the moisturizing and is a natural preservative.


STEP SIX:

I did this batch just for me, so I just used a couple of random molds.
The silicon one is actually a muffin mold I got in the bargain section of a department store.

POUR INTO MOLDS AND WAIT UNTIL COOL
These set fairly quickly, but you can stick them in the freezer to speed up the process.


STEP SEVEN:

The beeswax leaves particles that settle to the bottom, but I think it adds to the design.


ENJOY!


So, those are my lotion bars!  I hope I have enlightened you and inspired you to give them a try!  There is a bit of trial and error as you experiment, but the nice thing about them is you can always remelt them and add more oil or beeswax if you need to.  They're also fairly quick and easy to make. Once the beeswax melts everything else goes quickly.  They make nice gifts as well, but you may need to explain or include a note about how to use them.   

NOTES:  
I have not done much experimenting with Soy, but I believe it has a slightly lower melting temperature, so if you try to make these without Beeswax, you may need to adjust the hard/soft ratio ever so slightly.

You can also make this more of a salve and pour directly into tins.  I would just add about 1/2  or 1 more oz of oil to the mix to soften it up.


THANK YOU AGAIN FOR CHECKING OUT THE BLOG!!


Saturday, May 3, 2014

The joys of living in Upstate New York.... Our Maple Syrup Adventures

Well, it's been a while since I've posted a blog, this one is a little late, and wasn't really fueled by my curiosity or creativity, but I jumped on board and tried to be supportive.  The past few months have been a bit rough and I didn't have the time or mental energy to share any projects, however, my husband has had some ideas and inspirations, so I decided to follow him and his project. I figured it would get me back in the blogging and creativity groove, guess we'll see!

At some point in the past hubby mentioned we had a good handful of maple trees and that we should try tapping them and making maple syrup, but we never did it.  A year or two went by, and this winter he mentioned it again, but other than spending a bunch of money to buy equipment online, we didn't know where to get supplies so it was just a 'some day' idea floating around. I remembered reading somewhere that someone had tapped a birch tree with a straw and a soda bottle, but that was apparently too rustic for him to try. One more year would probably have passed without trying it, but I happened to see an article in our local newspaper that mentioned one of our locally owned and operated feed supply/hardware stores carried the equipment.  I told him about it, and we went down to the store just to check it out. We're a little tight on cash right now, so I had the 'let's not go crazy with spending' speech in my back pocket, but when we got there he just grabbed 5 plastic taps that we're about a quarter a piece and that was it.  Then we went to the big corporate hardware store and got food grade clear tubing for about $7 for 30 feet.  With two purchases totaling less than $9, and raiding our collection of old plastic milk and juice containers, my husband was committed to making Maple Syrup!  I may or may not have secretly nicknamed him the 'Maple Syrup King' and rolled my eyes a few times, but my husband had a project and he was running with it!

So, while I did not do much work on this one, I did try to support and document it.  So here it is:


Mr. Lazy Diva's Maple Syrup Project


Equipment:
Plastic tree taps
Food Grade Plastic Tubing (that the taps fit in!)
Plastic Containers
Wide Pan
Heat Source


Step 1: Setting up the Taps

Maple Tree sap runs at the end of winter, early spring and as the seasonal thaw takes place, the maple sap runs in the tree, and there is a limited window of time to collect.
So to set them up, Mr. L.D. pre-drilled the tree, then worked the tap into the hole.  He just pushed them in by hand, but apparently some people use a hammer or mallet to get them in tighter.  One or two of them leaked a little so he did have to adjust them.  This year he put in five taps, and just ran the tubes to a container at the base of the trees.


Step 2: Collecting the Maple Sap


Twice a day, he went out and emptied the bottles and gathered the sap.  Thank goodness we had lots of bottles saved up! 
When he got up to about 9 or 10 gallons he boiled what he had down.  He did this three times.


Step 3: Boiling down the Sap


Using a Turkey Fryer setup, he grabbed the widest pan we had, and poured in the first bottle of sap. You want a wide and steady heat source, and maybe next year we'll do it differently but this time it was propane fueled.  It's a LONG process, probably about 8 hours or more... of course we did it on a cold and windy day so that probably only added to the time, but all you do is let the sap boil down and add more sap until you get to syrupy consistency.   (To be honest, this day when the sun went down and the syrup was still not done, we cheated and moved the operation inside to our stove top).


Step 4: Finished Product


Now when to remove it from the heat is the tricky part.  As the last bottle of sap boils down with the rest, it's stirring and testing time.  The key is to get a nice syrupy texture, not too runny but not too thick.  Mr. L.D. did his first and third batch perfectly just by testing it every few minutes near the end.  The second batch was slightly over-cooked but still enjoyable.


Step 5: Enjoying the Finished Product


The second batch, which I documented, hubby came over with a sample spoon and asked my opinion.  I said it seemed fine, and then he told me it seemed a bit watery to him, so I said if he felt it was still a watery to let it go a few more minutes. He second guessed himself. That second batch is what we call MAPLE SPREAD.  LOL!  It's a cross between Maple Syrup and Maple Candy, and it's delicious! (If we were too concerned we could have re-melted and added more sap, or boiled it more and committed to Maple Candy.) 


 We scraped and enjoyed as much maple spread as we could...


 Maple Spread is delicious as is, and even better on buttered toast!


All together, after boiling down about  23 gallons, we came out with about 2 1/2 quarts. 
Next year we plan on tapping more trees and doing more syrup, but for just us, this was a good yield.


That's our Maple Syrup experience,  we were able to do it fairly cheaply, and we look at this year as our learning year.  We're not quite ready to build a sugar shack next year, but depending on how much time we have, we'll probably expand and make more to share with family and friends.  
I'll probably also try doing some maple candy next year too!


As for upcoming projects, Mr. Lazy Diva is currently building a chicken coop inside our garage, and we will be raising chickens.  Their hatch date is supposed to be May 7th, so I'll probably document some of that experience. Also, I've been trying to design a Sugar Glider Sleeping pouch, but apparently my design skills need some honing, so I'm not prepared to share, but if I ever come with a perfect design I'll blog that too.  I also just got back from a visit to Salem, MA and my favorite supply shop Artemisia Botanicals where I stocked up on some herbs and scents for some bath and body projects.  
So, hopefully you'll see some new projects coming soon! 
   
Thanks for reading!