At some point in the past hubby mentioned we had a good handful of maple trees and that we should try tapping them and making maple syrup, but we never did it. A year or two went by, and this winter he mentioned it again, but other than spending a bunch of money to buy equipment online, we didn't know where to get supplies so it was just a 'some day' idea floating around. I remembered reading somewhere that someone had tapped a birch tree with a straw and a soda bottle, but that was apparently too rustic for him to try. One more year would probably have passed without trying it, but I happened to see an article in our local newspaper that mentioned one of our locally owned and operated feed supply/hardware stores carried the equipment. I told him about it, and we went down to the store just to check it out. We're a little tight on cash right now, so I had the 'let's not go crazy with spending' speech in my back pocket, but when we got there he just grabbed 5 plastic taps that we're about a quarter a piece and that was it. Then we went to the big corporate hardware store and got food grade clear tubing for about $7 for 30 feet. With two purchases totaling less than $9, and raiding our collection of old plastic milk and juice containers, my husband was committed to making Maple Syrup! I may or may not have secretly nicknamed him the 'Maple Syrup King' and rolled my eyes a few times, but my husband had a project and he was running with it!
So, while I did not do much work on this one, I did try to support and document it. So here it is:
Mr. Lazy Diva's Maple Syrup Project
Equipment:
Plastic tree taps
Food Grade Plastic Tubing (that the taps fit in!)
Plastic Containers
Wide Pan
Heat Source
Step 1: Setting up the Taps
Maple Tree sap runs at the end of winter, early spring and as the seasonal thaw takes place, the maple sap runs in the tree, and there is a limited window of time to collect.So to set them up, Mr. L.D. pre-drilled the tree, then worked the tap into the hole. He just pushed them in by hand, but apparently some people use a hammer or mallet to get them in tighter. One or two of them leaked a little so he did have to adjust them. This year he put in five taps, and just ran the tubes to a container at the base of the trees.


Step 2: Collecting the Maple Sap
Twice a day, he went out and emptied the bottles and gathered the sap. Thank goodness we had lots of bottles saved up!


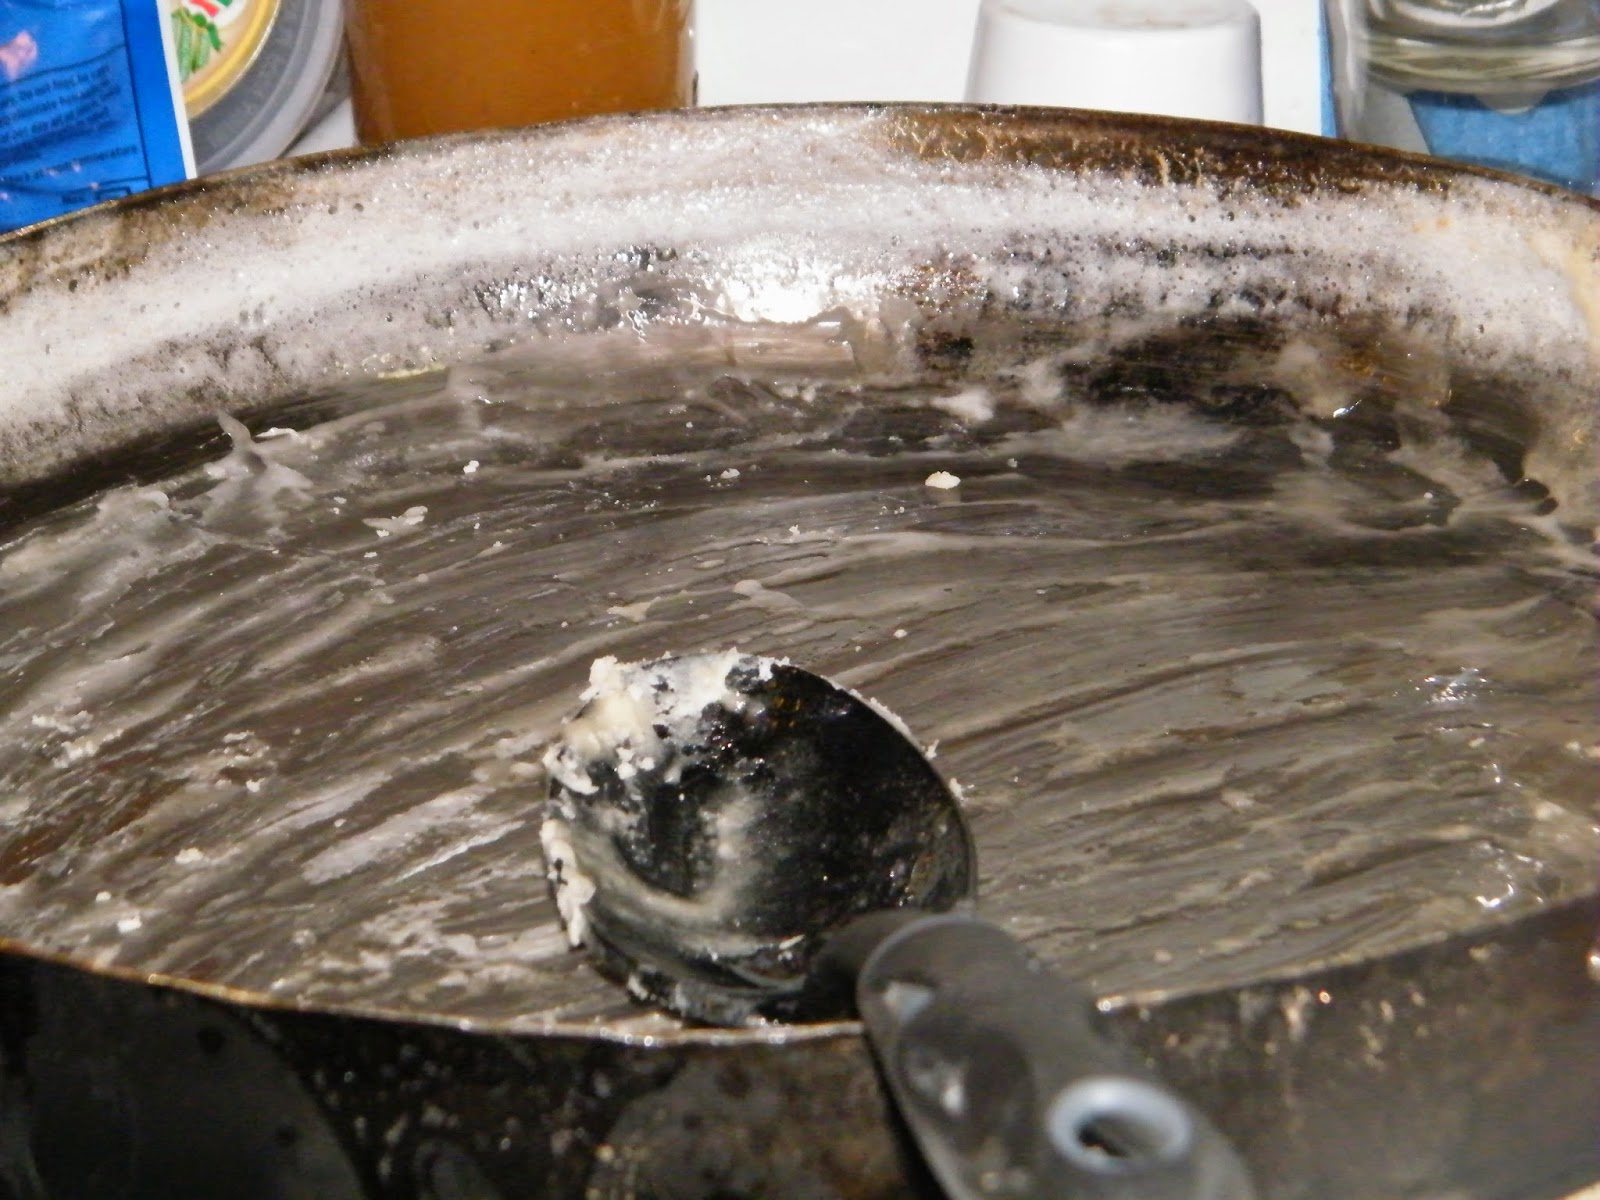
Step 3: Boiling down the Sap
Using a Turkey Fryer setup, he grabbed the widest pan we had, and poured in the first bottle of sap. You want a wide and steady heat source, and maybe next year we'll do it differently but this time it was propane fueled. It's a LONG process, probably about 8 hours or more... of course we did it on a cold and windy day so that probably only added to the time, but all you do is let the sap boil down and add more sap until you get to syrupy consistency. (To be honest, this day when the sun went down and the syrup was still not done, we cheated and moved the operation inside to our stove top).


Step 4: Finished Product
Now when to remove it from the heat is the tricky part. As the last bottle of sap boils down with the rest, it's stirring and testing time. The key is to get a nice syrupy texture, not too runny but not too thick. Mr. L.D. did his first and third batch perfectly just by testing it every few minutes near the end. The second batch was slightly over-cooked but still enjoyable.


Step 5: Enjoying the Finished Product
The second batch, which I documented, hubby came over with a sample spoon and asked my opinion. I said it seemed fine, and then he told me it seemed a bit watery to him, so I said if he felt it was still a watery to let it go a few more minutes. He second guessed himself. That second batch is what we call MAPLE SPREAD. LOL! It's a cross between Maple Syrup and Maple Candy, and it's delicious! (If we were too concerned we could have re-melted and added more sap, or boiled it more and committed to Maple Candy.)
We scraped and enjoyed as much maple spread as we could...

Maple Spread is delicious as is, and even better on buttered toast!

All together, after boiling down about 23 gallons, we came out with about 2 1/2 quarts.
Next year we plan on tapping more trees and doing more syrup, but for just us, this was a good yield.
That's our Maple Syrup experience, we were able to do it fairly cheaply, and we look at this year as our learning year. We're not quite ready to build a sugar shack next year, but depending on how much time we have, we'll probably expand and make more to share with family and friends.
I'll probably also try doing some maple candy next year too!
As for upcoming projects, Mr. Lazy Diva is currently building a chicken coop inside our garage, and we will be raising chickens. Their hatch date is supposed to be May 7th, so I'll probably document some of that experience. Also, I've been trying to design a Sugar Glider Sleeping pouch, but apparently my design skills need some honing, so I'm not prepared to share, but if I ever come with a perfect design I'll blog that too. I also just got back from a visit to Salem, MA and my favorite supply shop Artemisia Botanicals where I stocked up on some herbs and scents for some bath and body projects.
So, hopefully you'll see some new projects coming soon!
Thanks for reading!