Saturday, May 25, 2013

Time to invest in some Adhesive Ducks... I'm making Lavender body SCRUB for the TUB

Whoop!  Sugar Scrub Time! 

As I've mentioned before, I'm not a very crafty person... I've never taken any cosmetology classes and pretty much get my ideas from the internet or books I've found along the way. If you do an internet search for Body Scrubs, you will find there are a BOAT LOAD out there, trust me, I've looked! Scrubs are super quick and easy, use readily available ingredients, and can make a great gift.  There is no wonder why they are so popular! 

Now if you don't collect oils, salts and fragrances like I do.... here is a quick, easy, no effort, no special ingredient recipe for things you probably have readily available.

QUICK & EASY SUGAR AND HONEY SCRUB
3/8 cup Olive Oil (8 tablespoons)
1/4 Honey
1 cup of sugar

Mix it all together and store it in a jar.  If you don't have honey, just add extra Olive oil.  Simple. However, if you have scents, or other oils to cut it with, do it up right!  EVOO is great for the skin, but depending on the brand it can have a strong smell, as does coconut oil, but I'd rather smell 'tropical' rather than I just finished a stir fry or made a salad. :-)  (Okay, it's really not that bad, but using EVOO so often for cooking...it's imprinted with cooking on my brain!).

Anywhoo, to the main recipe.... today, I decided to put a hair more *gasp* effort into the project.... don't worry, it's not that much effort! I've tried a few different scrub recipes in my day, so I did what everyone should do, and combined my favorite things into my own blend. This time around I went with a Sugar Scrub because it's more gentle on the skin.  For a more heavy duty rougher scrub you can substitute salts! As I mentioned above, there are TONS of recipes.... I love Coconut Oil (and I have a ton kicking around,) so when creating this recipe I chose that to be my go to base oil.  Extra Virgin Olive Oil pops up as a base oil a lot too, it's just about what you like!  For a scent I went with Lavender because it's a favorite...plus, one time I ran out, now I tend to buy it whenever I see it, so I've got about 4 bottles of it in my cupboard...so, time to use some!

 So without further ado....

The Lazy Diva's Coconut Lavender Sugar Scrub with a splash of Vanilla


1 cup sugar
1/2 cup Coconut Oil (melted)
1/8 cup dried lavender (ground up, if you so desire)
8 drops lavender essential oil
1/2 tsp of Vitamin E
1/2 tsp Pure Vanilla Extract (the real stuff)
This recipe yields about a Laura Ingalls (1/2 pint) (I know....really lame, really old, bad joke...but I made it anyway!)


1) Melt your coconut oil 


I just microwaved it, and stirred it about every 15 seconds until it was completely clear. Then poured it into a measuring cup.


2) Pour the sugar into a jar or bowl
I used plain old, cheap, white generic sugar... for a more gentle scrub you can use brown sugar, or do a combo of white and raw for different textures.


3) Stir in Coconut Oil and a splash of Vitamin E
I have a jar of liquid Vitamin E, but you can also break open a capsule for this too.


4) Using a coffee grinder (blender or mortar and pestle,) powder the lavender, then add it to the mixture.


I purchased this particular batch of lavender from 
SensibiliTeas in Glens Falls, NY.  Tea shops are a great place to pick up some herbs!  Some health food stores, too!

I do have to add that I'm so excited to find a use for the coffee grinder we never use...I don't think this baby has seen a bean of coffee since we got it! It works really well. It became a really nice powder, and smelled so good!


5) Add about 8 drops of Lavender Essential Oil


and a splash of real Vanilla Extract


6) Stir, and transfer it to your final jar.
In an alternate batch I did, I just added and mixed in the 1/2 pint jar... If you're winging the measurements, which is a perfectly fine thing to do, it's nice to give yourself the room.  Plus, if you're making it as a gift, and mix it in a seperate jar you can have a 'sample' of the batch for yourself to 'test' and enjoy... for quality reasons of course.  ;-)


7) Seal it up!  If you're giving it as a gift, obviously you'll want to make it look nice.
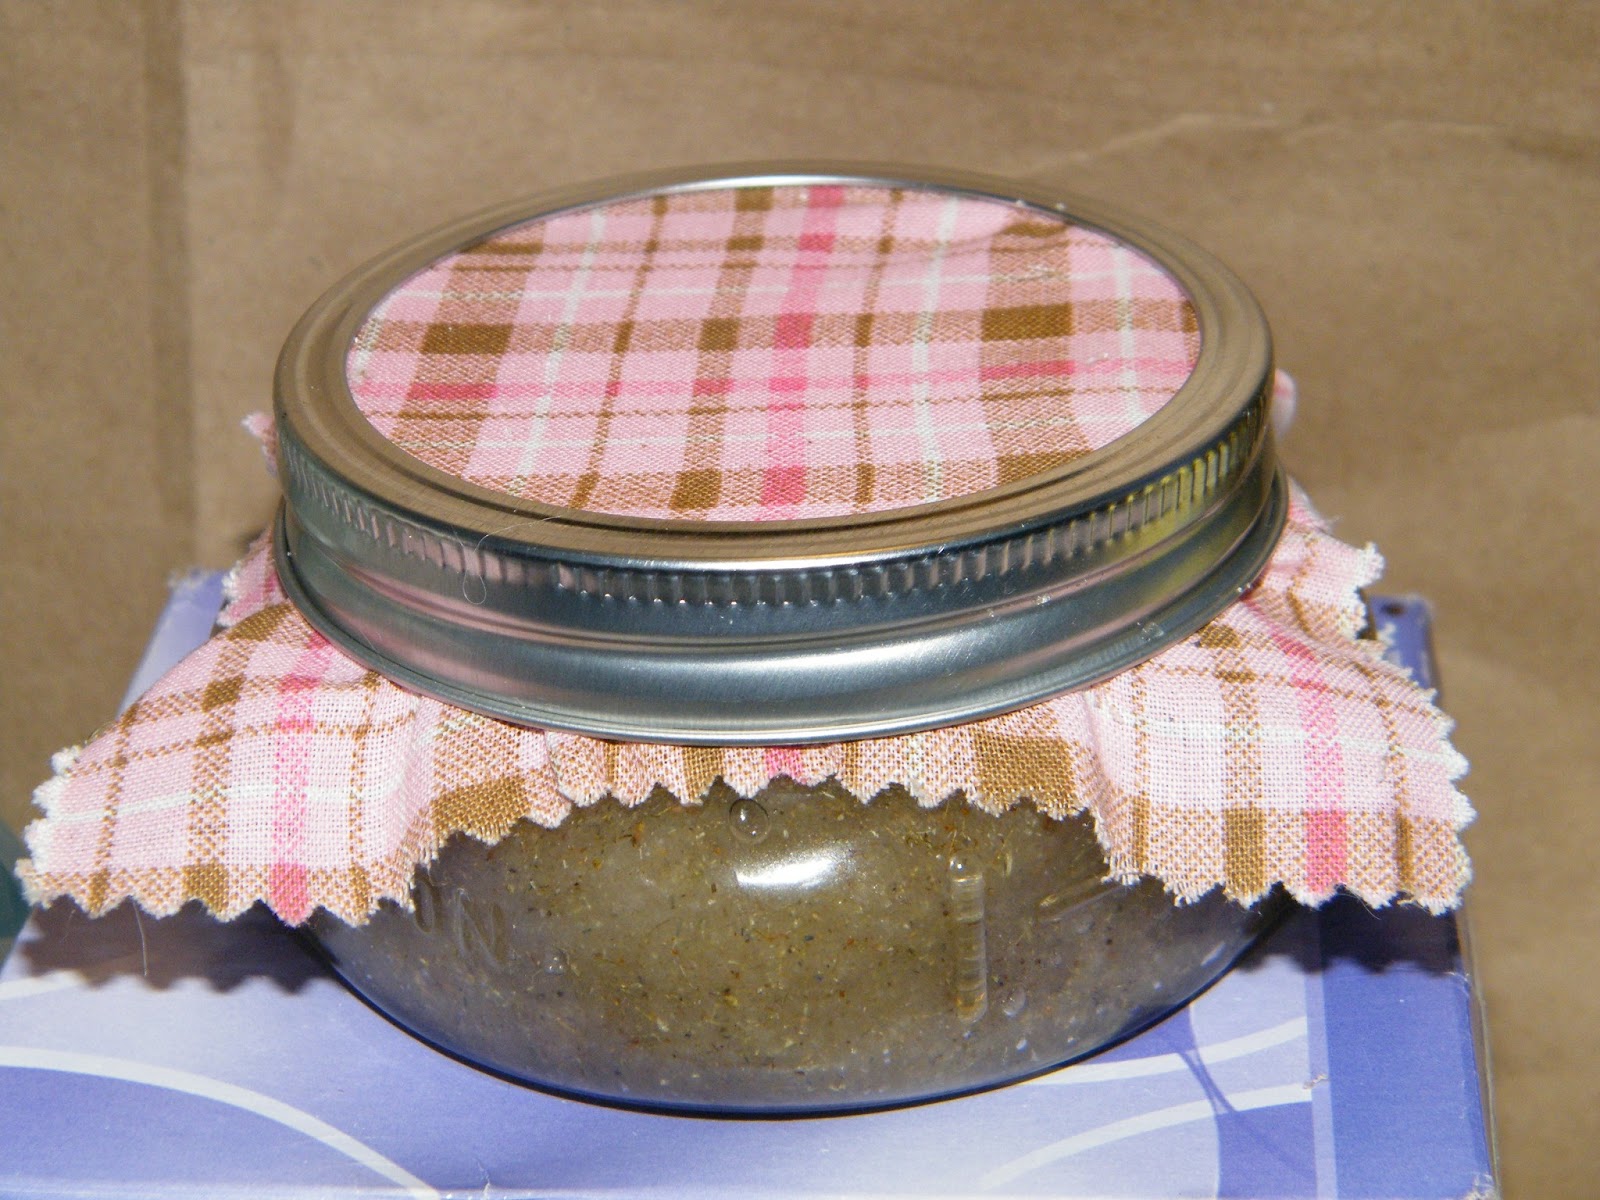

I like to use the mason jars and add a pre-made square of fabric... cause I'm lazy.  I usually will put a label on the jar too, with instructions.

8) Enjoy!  
I usually just scoop out a little at a time and use it in the shower (with or without a loofah). It leaves a light layer of moisture and smells great! 


NOTE:  THIS LEAVES THE SHOWER/TUB SLICK...  IF YOU DON'T WANT TO CLEAN THE TUB AFTER USING.... AT LEAST WARN OTHERS TO BE CAREFUL OF THE OIL SLICK!

Husbands can get a little grumpy (and possibly hurt) if they are not expecting a slick tub!  Much like Penny in 'The Big Bang Theory' I need to invest in some adhesive ducks! No injuries yet, but there has been some slip sliding.


ANOTHER NOTE:
OMG!  My arm looks huge at that angle!  Like Pooh stuck in a honey jar...
This also works as a nice 'manicure in a jar' recipe, too!  You can add another base oil like Sweet Almond, Apricot, etc...for a bit more moisturizing.  Just pre-moisten hands, rub it in for a good minute or so, then rinse. 

After clean up, I used the leftovers to give my hands a nice scrub and soak... so awesome!


My hands feel so nice and soft while I'm typing this up!

From my research.... it looks like this has a shelf life of about a month, which is why it is nice to keep the batches small. Also, you probably only want to use it 2-3 times a week, since to much 'scrubbing' can irritate your skin.  The Vitamin E and supposedly the Vanilla Extract act as natural preservatives so that should help extend its life, but if something starts to smell bad....times up.  


Tips:
If the coconut oil tries to solidify, just soak the jar in warm water before use.
Because of settling, you should stir it up before using.


Well, that's the blog... hope you enjoyed the visit to Sugar Scrub Land.  Please visit my Facebook page https://www.facebook.com/VeronicaTheLazyDivasQuasiCraftyBlog and give a 'like' for extra recipes and such, or just to help a fledgling page get started.  

THANKS AGAIN FOR READING!!


Sunday, May 19, 2013

Something smells....but not like Violets!

Today was not a beautiful sun shiny day!  The joys of living in the Adirondack area is that the weather changes quickly.  It was cold, windy and just about to rain, but I dragged my butt outside to pick violets.  Due to Memorial Day, and working in a deadline oriented business, I am looking at working solid for the next week, so it was pretty much now or never.  Plus, I still don't want to do housework! 

Wild Violets, one of my other favorite flowers!

Yesterday, I got a bit of a sunburn on the right hand side of my neck and shoulder, I need to remember in the future to rotate what angle I pick flowers at so the burn is even on each side.  Today, It was about moving sticks so when you plop down in the middle of the flowers you don't get impaled!
We are lucky to have tons of wild violets on our property.
In the spring, hubby is kind enough to mow around!

My tip for the lazy person is to just sit down and scoot around while picking ground flowers, bending and twisting is too much like exercise!  So, while with lilacs it was all about reaching up, today with violets it was all about finding a comfortable seat where I can still reach lots of flowers. I'm glad I don't work in a factory or on a farm because I would get fired quickly, even with impending rain it took me so long to fill the mason jar, and I wouldn't call it 'full'. If my hubby hadn't come out to work in the yard as well, I would have gotten one of the mini-jars and called it a day. Then, after all that work the violets didn't smell 'flowery' they smelled 'earthy'. So, I guess I just made an 'earthy' scented blend....oh, well!
Well, my husband was going to mow here anyway, I just helped flatten the area.

The Lazy Diva's 'Earthy' Violet Oil Mix  


1) Cram Violets into a Mason Jar


2) While adding flowers 'bruise' them and pack them in with a spoon.


3) Add 1/2 a cup of Sweet Almond Oil.

4) Stir, bruise, blend, slap a cap on and shake it up

Now, just like the lilacs in the previous blog, you keep it warm, out of sun, and shake it everyday for a week. Then you put it in a dark spot for two weeks, wait, drain, strain, and re-contain (in a dark bottle or bottles).
  

So, there you go, two blogs of making scented oils, I figured I'd get them out while the flowers were still in bloom.  Thanks to all those that have checked out the blog so far, I've started a facebook page too, so if you've enjoyed it so far... please 'like' my page.  https://www.facebook.com/VeronicaTheLazyDivasQuasiCraftyBlog
Next up, I'm thinking of making something for the bath... 

Saturday, May 18, 2013

Homemade Essential Oils - Lilacs - Part One


On this beautiful day in spring I felt energized with the crafty spirit, and decided to do something about it.  How could anyone be expected to do housework on a day like today?  So off to the yard I went... and found inspiration for a blog.


In my research I  recently found a couple of recipes for making your own homemade essential oils... and they sounded easy.  One of my favorite flowers is LILAC, love the scent, love the color!  So I decided to put aside everything and go pick some flowers. 


Here is my version of Homemade Lilac Essential Oil.  It's not a pure essential oil, and not to be taken internally, but if you're looking for a perfumed oil to use in some bath and body products here you go.


Step 1)  Pick the flowers.  You need two cups of well packed flowers for this.


Seeing as though this was all going to end up in a mason jar, and the mason jar holds two cups, I just crammed all the flowers into the jar and kept packing it down.


Step 2) Slightly bruise the flowers with a Mortar and Pestle.


Now, although I totally have been encouraged to buy a mortar and pestal by my craft enabling husband, I never have.  Up until recently I could never justify it.  So today I used a paper plate, and plastic spoons, which soon turned into paper plate and a pyrex measuring cup.    


Step 3)  Pour Sweet Almond Oil into a mason jar and add flowers.


My lazy self originally decided to just cram all the flowers into the mason jar, then pour a cup of oil in on top, but I was honestly nervous about how that would work out.  So I did it the proper way.  Then I realized I used the recipe for herbs (not flowers) and kicked myself... so for my next batch, which will probably be violets, I'll only use half a cup.


Step 4) Keep it in a warm place (out of sunlight) and shake it once per day.


This jar is FULL.  Shaking is supposed to further bruise the plants, but there's no wiggle room that I can see.  Maybe over time the flowers break down and there will be wiggle room??


So this is where I am at today, waiting and hoping it will turn out okay.  This is kind of a one shot deal this season.  Although, maybe I'll skip housework again tomorrow in lieu of more lilac picking.  :-)


Here are the next steps I'll be following in the days and weeks ahead.

Step 5) Place it in a dark place for a couple of weeks.


Step 6) Shake the jar a final time, then strain it through gauze or cheese cloth into another container.  Squeeze it well to get all the goodness you can out.


Step 7)  Put in dark containers to extend shelf life.


I'll post an update in a couple of weeks with the results!

Thanks for reading my first blog!