Saturday, July 12, 2014

When your husband hands you a bowl of Blackberries and Raspberries.... Add Some Sugar and Make Jam


When we bought our house several years ago, one of the added perks was finding out we had lots of wild blackberries and raspberries growing all over.  We've had to cut them back a bit, and some of them were choked out, but this year we had a pretty good yield.  Other than picking them, and maybe adding some whipped cream,  we've really never done much with them.   So I was kind of surprised when my husband called me at work and said he had picked a bowl of berries and was wondering if I'd like to make jam as my next blog project, or if I wanted him to go ahead and make it himself.  Obviously, I chose to blog it!  I've never made jam before, but I figured now was as good a time as any to learn.... besides, all the hard work was done!  (Thank you to my hubby for spending all the time picking the berries and then waiting for me to make the jam!  After the 'You made all the apple sauce without me! I was going to blog that!' incident of 2013, he's learning!)

Now that I had a bowl of berries, I needed a recipe!  At the time I started this I completely forgot I had gone on a pectin buying spree last fall, so I searched for recipes that did not need it.  Every recipe was pretty much the same, and for my first time out, I figured I'd go with the most easy and basic. I had no idea how much sugar was in jam!!  Since we didn't have a huge yield... I decided to do refrigerator jam and leave the canner in the basement.  I also decided to leave the strange grinder/seperator mechanism in the cabinet, and just leave the seeds in, why make more work.

So here is the super easy recipe:


The Lazy Diva's No Pectin Raspberry and Blackberry Jam
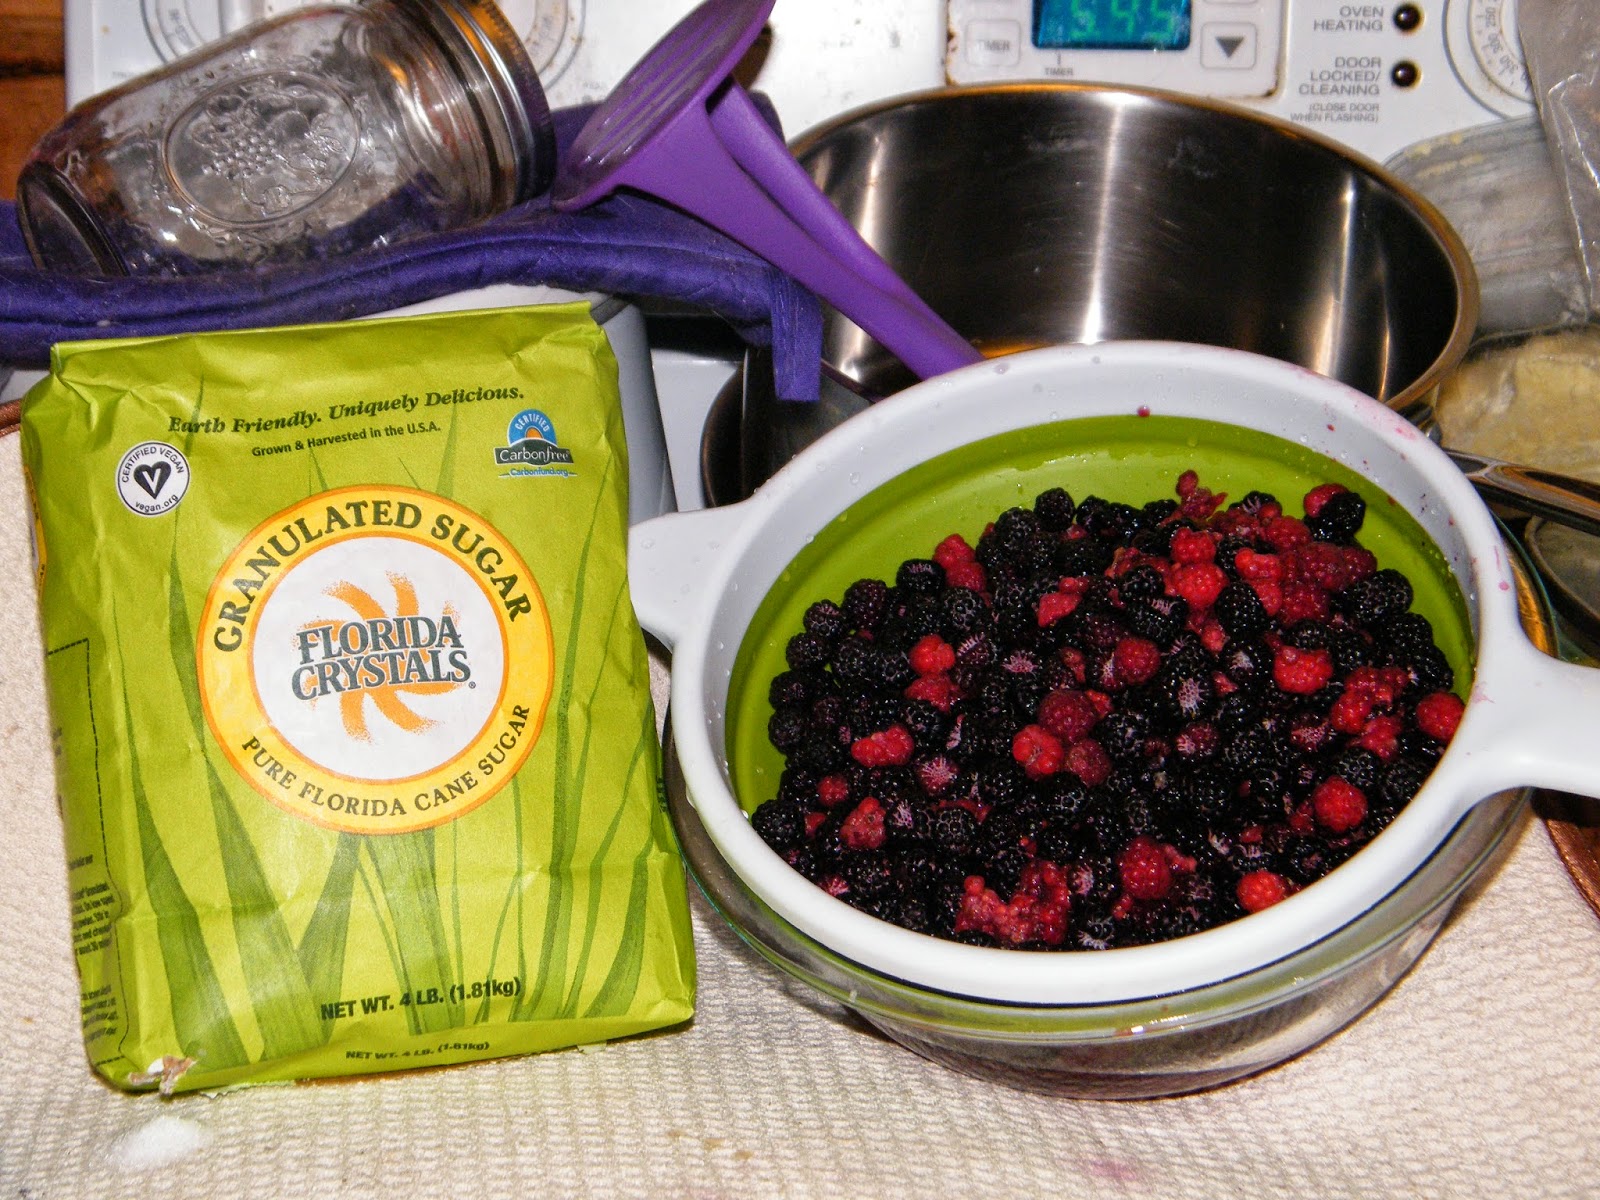

4 cups of berries 
(we didn't have a ton of raspberries, so we just mixed them in with the blackberries)
4 cups of sugar
A splash of lemon juice (Some recipes called for it, some didn't. The ones that did would say a tsp. for each cup of berries.  I didn't think it was necessary, but I added a splash in anyway.)

Heat on High for 5-10 minutes, then reduce heat to medium and cook an additional 10 minutes.

STEP ONE:


RINSE BERRIES WELL


STEP TWO:


ADD BERRIES AND SUGAR TO A POT AND HEAT ON HIGH FOR 5- 10 MINUTES.


MASH AND STIR AS YOU COOK

STEP THREE:


REDUCE HEAT TO MEDIUM AND COOK FOR AN ADDITIONAL 10 MINUTES. IF THERE IS A LOT OF FOAM, SKIM THE TOP.


STEP FOUR:

I used half pint jelly jars, and with about 6 plus cups of fruit, I ended up with about 3 1/3 full.

POUR INTO JARS, LET COOL AND THEN REFRIGERATE.


STEP FIVE:


ENJOY


NOTES:  

~ Do not walk away from the pot because this bubbles right up to the top if not stirred.
~  It's molten hot, so don't try to sample with your finger, or try to move the jelly jars without a pot holder for quite a while.
~ This leaves a layer of jam on all the dishes, and it looks horrific. If you just soak it for a little bit it comes right off.


Had I known that jams and jelly were this easy, I probably would have tried them much sooner!  Next time I will probably can them to keep them for an extended time.  This time we gave some away and kept the partial and a full jar for ourselves. With 3 full jars that would be enjoyed sooner rather than later I couldn't see dragging out the canner. 

Bottom line, first attempt at Jam was a delicious success!  Once again, a huge thank you to my husband for picking the berries and also for supporting my blog and creativity!

Thanks to you as well for visiting the blog!

Thursday, July 10, 2014

A Solid Way to Moisturize and Massage Your Skin using LOTION BARS

Years ago I found a recipe for Massage Lotion Bars.  Out of everything I have made these were, and still are, one of my absolute favorite items.  Knowing and loving these bars as I do, I've often marveled at how big of a mystery they seem to be to other people.  

For a few years I tried selling products at a little craft fair, and while I sold a few items, the Lotion Bars did not really sell.  Part of the issue was packaging.  I would wrap them up in clear plastic craft bags with a label, and that didn't work that well.  I tried tins, and they did a little better, but still I barely sold any. (I still haven't found a great way to package these.) One year I took some of the scraps and put them out on a tray as samples, I spent half the time stopping people from eating them, and explaining what they were. People just didn't seem to get the concept.  However, in my years of making these I have introduced and successfully converted a few friends and family members over to the Lotion Bar side.  Some are still confused.... but maybe someday they will learn!

For those not familiar, Lotion/Massage Bars are supposed to melt at skin temperature.  You do not add water, you just rub them onto your bare skin and let them work their magic. It's like body lotion and massage oil combined into a solid form. Since they melt on your skin they absorb nicely, and they are great for softening and moisturizing with less mess. They also smell amazing! I can understand why people wanted to eat them!

The formula for making these bars is fairly simple, and it's all about melting points:

1/3 Hard (Beeswax, Soy)
1/3 Medium (Cocoa Butter, Shea Butter )
1/3 Soft (Apricot, Olive Oil, Sunflower, Avocado, Coconut, etc...)

Here is my recipe for a small batch (about two bars):


Veronica the Lazy Diva's Cocoa Butter and Coconut Oil Lotion Bars


Ingredients:
2 oz Beeswax
2 oz Cocoa Butter
1 oz Coconut Oil
1 oz Apricot Oil
3 drops Vitamin E
Essential Oils (optional)  (I used 3 drops of Jasmine and 2 drops of Orange)

You'll also need some sort of mold to pour these into when finished.

I have 'craft' designated crock pots and that's what I personally use when I make these.  You can do these in a double boiler, or even in the microwave one at a time starting with the hardest items and working down. 


STEP ONE:

I came across a bag of smaller pieces, so I used this instead of cutting the block.

ADD THE BEESWAX AND LET IT MELT COMPLETELY


STEP TWO:


ADD COCOA BUTTER AND STIR UNTIL IT IS MELTED COMPLETELY


STEP THREE:


ADD COCONUT OIL AND STIR


 STEP FOUR:


ADD APRICOT OIL AND STIR


STEP FIVE:


ADD VITAMIN E AND ESSENTIAL OILS (if desired) AND STIR

These three ingredients are optional, half the time I leave the essential oils out.  The Cocoa Butter and Coconut Oil have such an enticing natural smell you don't really need to add scent,  I just added a few drops to bring them up to the next level.  The Vitamin E is also a go to ingredient in most of my projects, it ups the moisturizing and is a natural preservative.


STEP SIX:

I did this batch just for me, so I just used a couple of random molds.
The silicon one is actually a muffin mold I got in the bargain section of a department store.

POUR INTO MOLDS AND WAIT UNTIL COOL
These set fairly quickly, but you can stick them in the freezer to speed up the process.


STEP SEVEN:

The beeswax leaves particles that settle to the bottom, but I think it adds to the design.


ENJOY!


So, those are my lotion bars!  I hope I have enlightened you and inspired you to give them a try!  There is a bit of trial and error as you experiment, but the nice thing about them is you can always remelt them and add more oil or beeswax if you need to.  They're also fairly quick and easy to make. Once the beeswax melts everything else goes quickly.  They make nice gifts as well, but you may need to explain or include a note about how to use them.   

NOTES:  
I have not done much experimenting with Soy, but I believe it has a slightly lower melting temperature, so if you try to make these without Beeswax, you may need to adjust the hard/soft ratio ever so slightly.

You can also make this more of a salve and pour directly into tins.  I would just add about 1/2  or 1 more oz of oil to the mix to soften it up.


THANK YOU AGAIN FOR CHECKING OUT THE BLOG!!